
The Basics of Cycling Part 1 - EVERYTHING you need to know before getting in the saddle!
Whether you’re getting in the saddle for the first time as an adult or a child, or just in need of a refresher - we've got everything covered in this video and blog post.
Video Presented by: Gerardo Ballesteros & Louisa Winning; Editorial and Production by: Louisa Winning; Filmed at: Veloworld, Rouken Glen Park; Music by: Robbie Landsburg; Commissioned by: Green Guardians
Common Types of Bikes
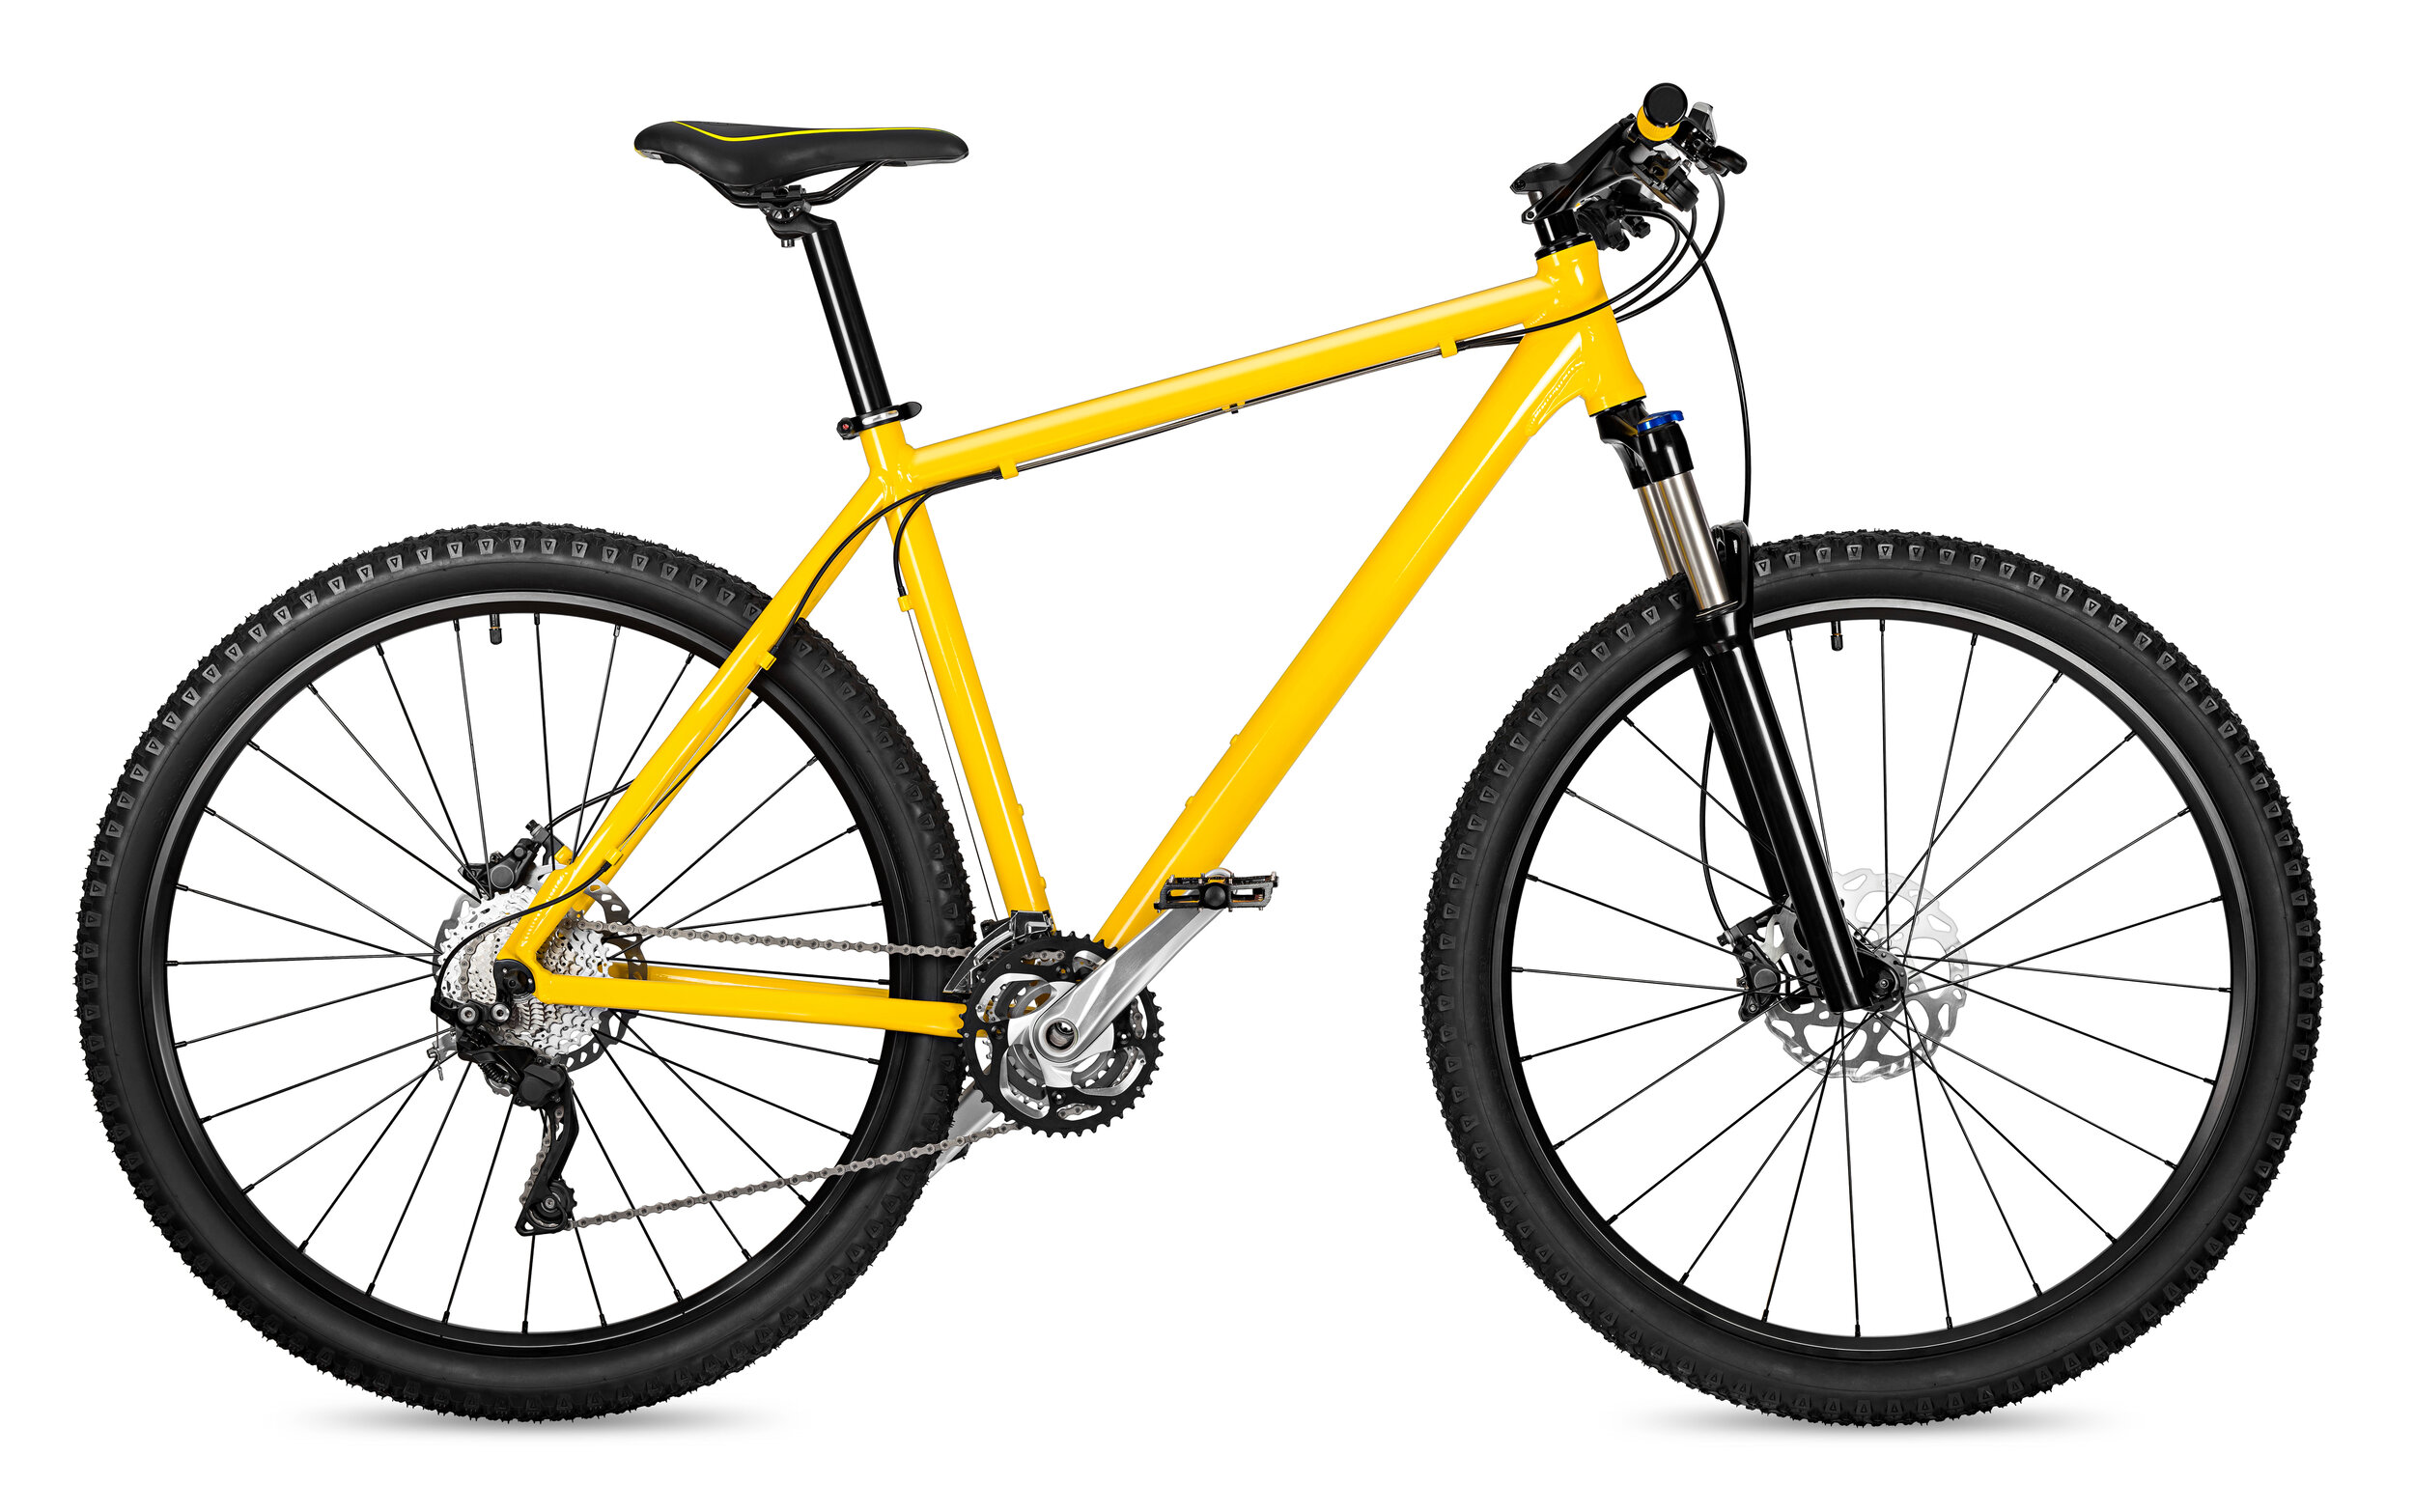
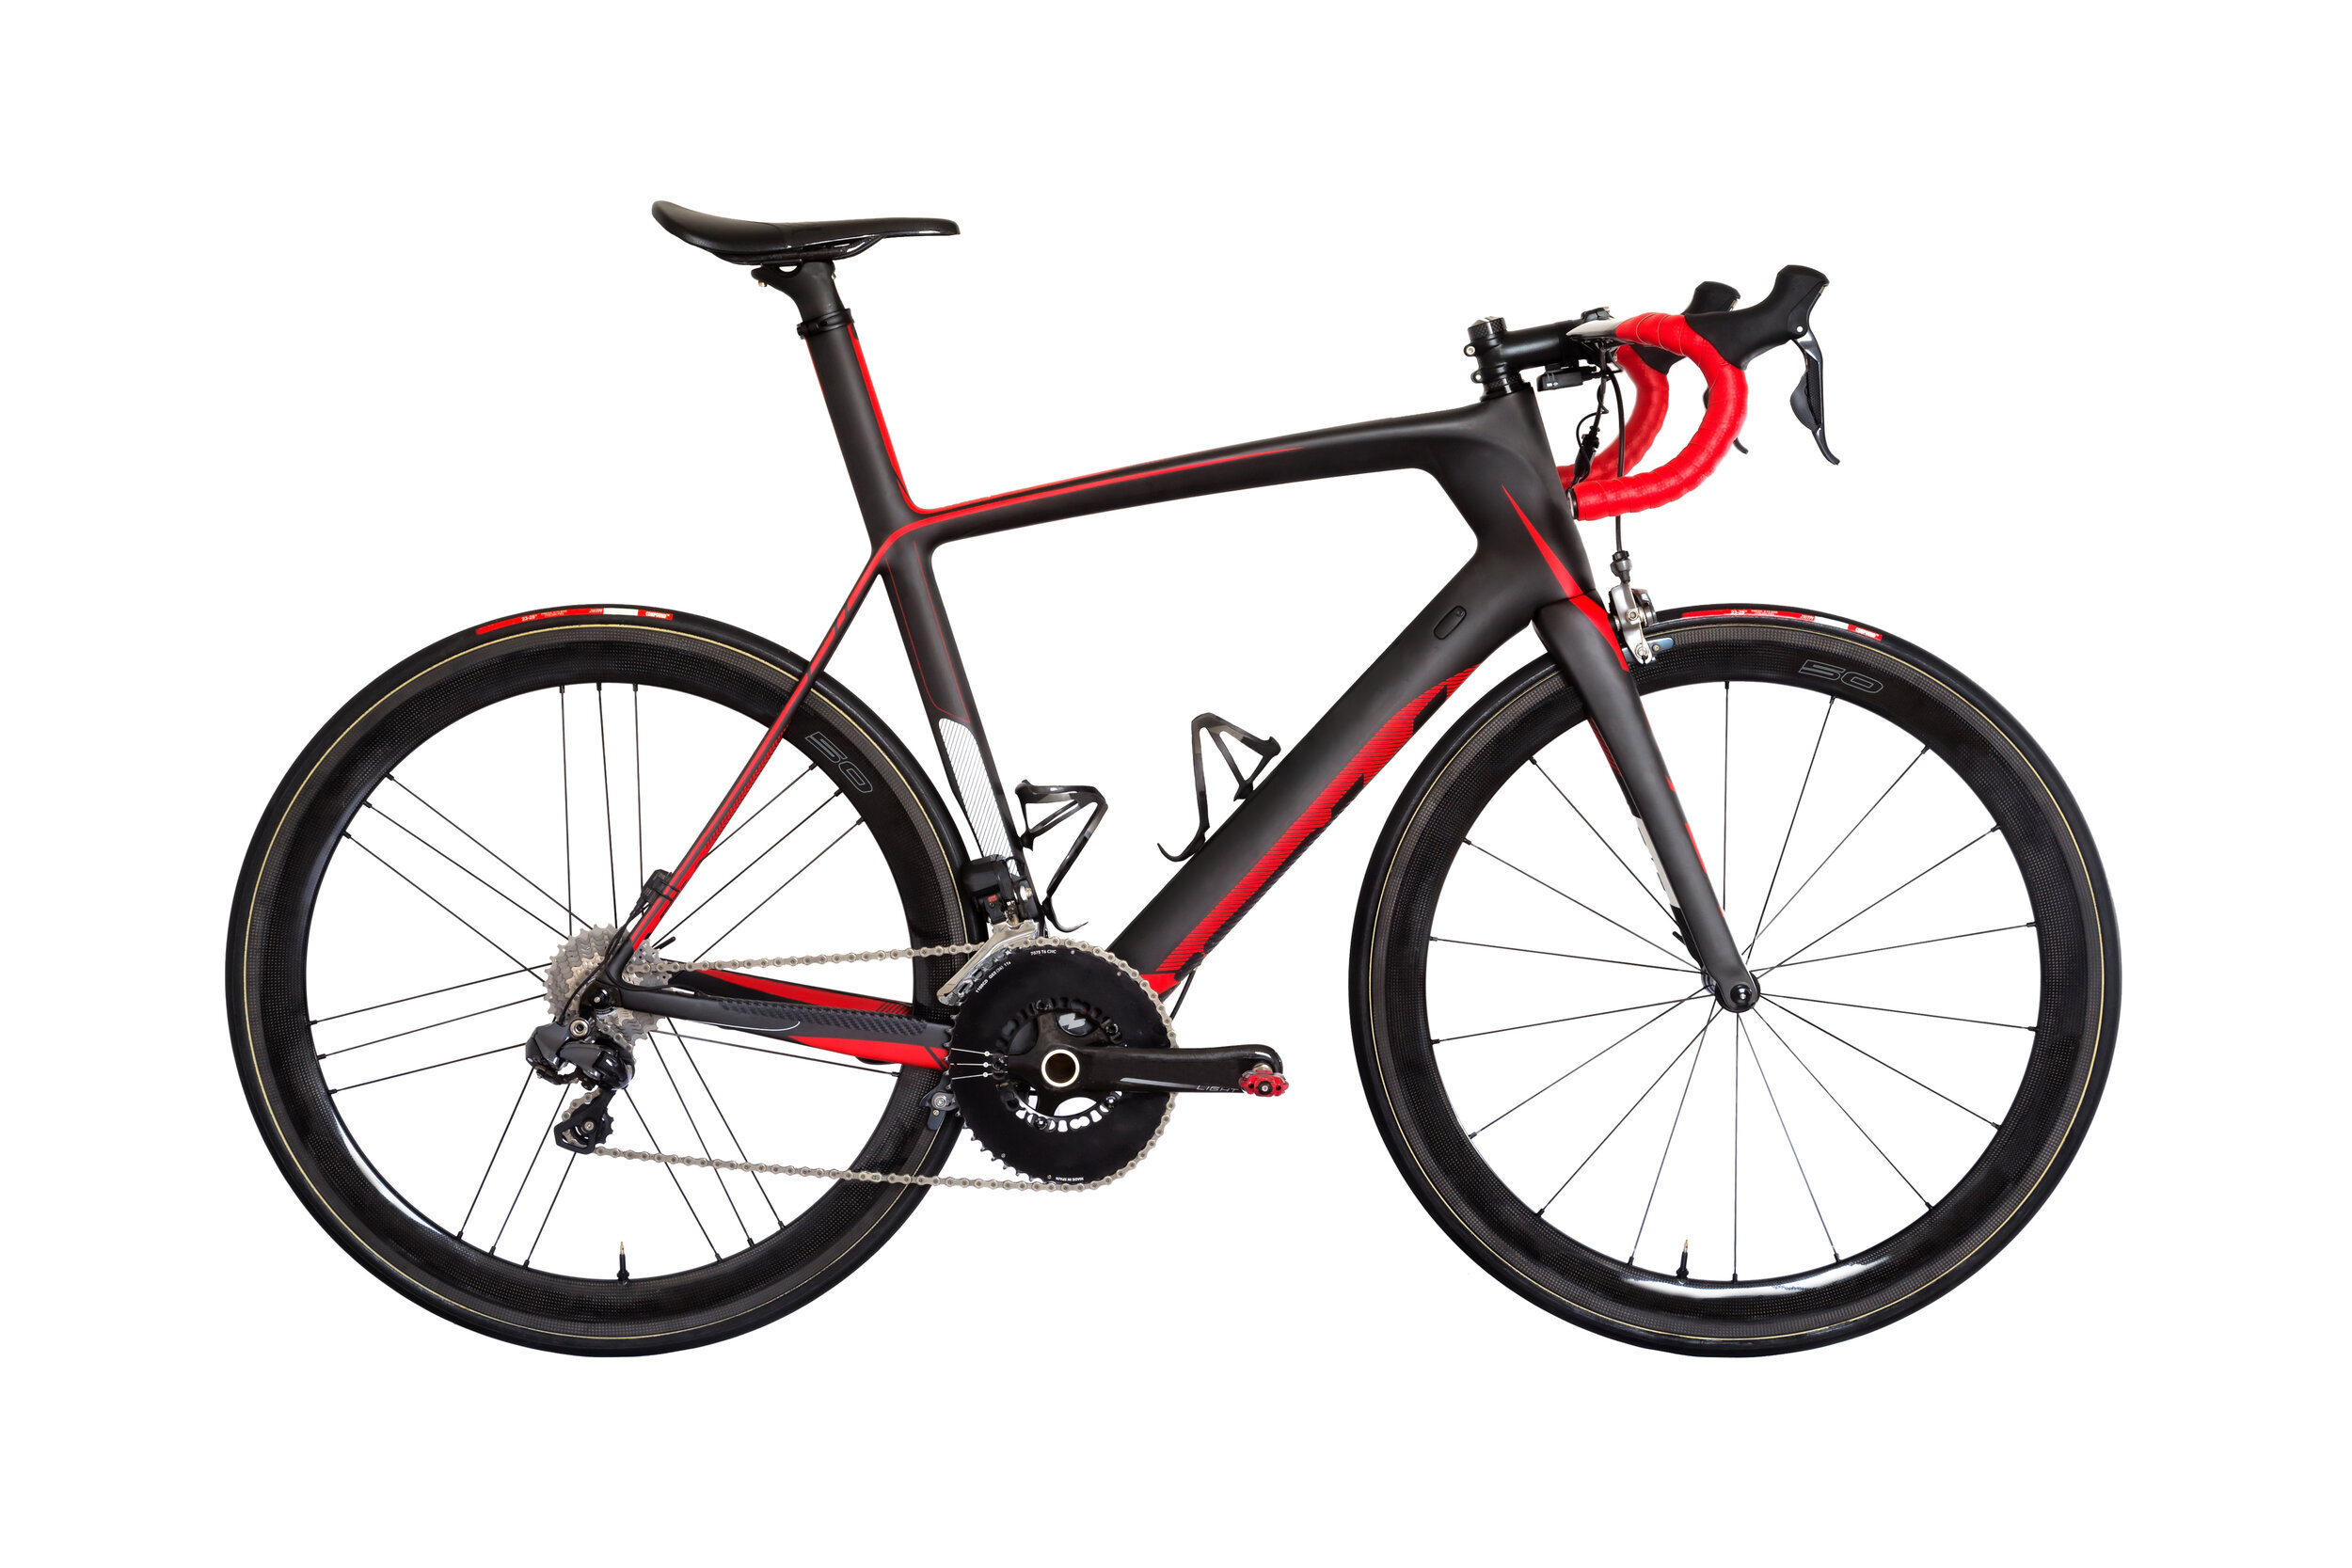
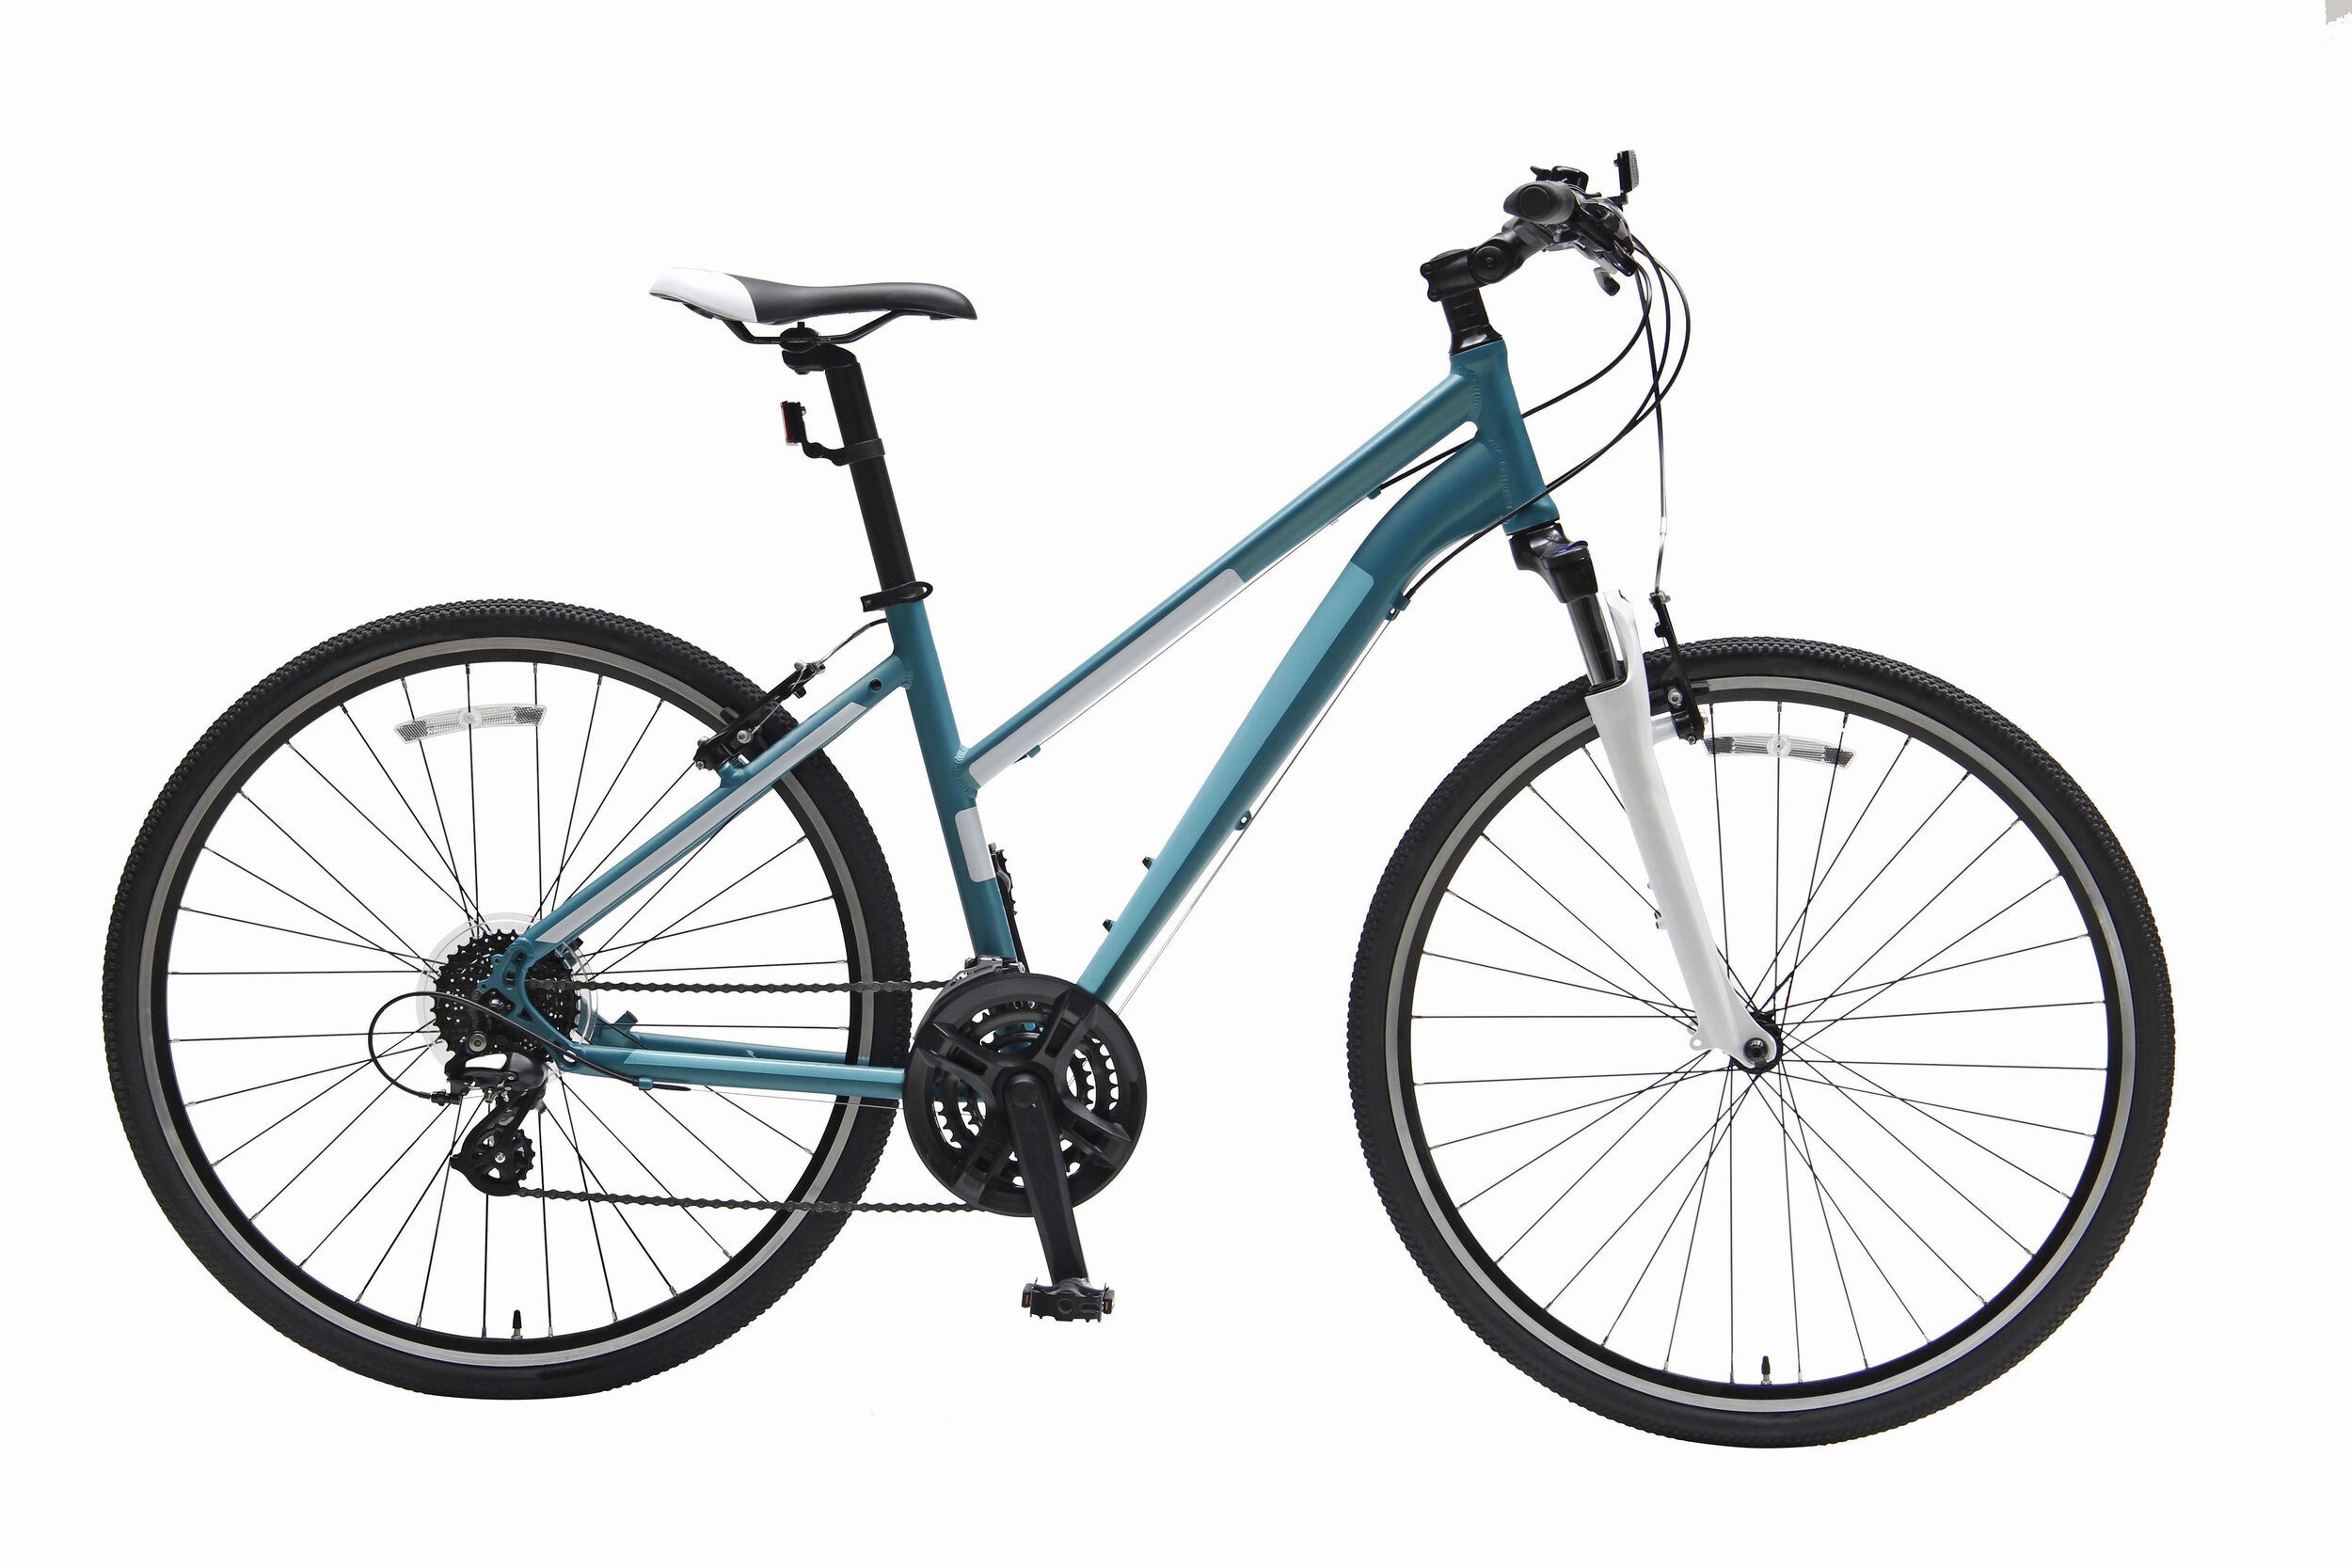
Let’s start with three of the most common bikes on the road today:
Mountain bikes have wide, knobbly tyres for traction, and a wide range of gears to help you get up and over mountains or across fields. Some bikes have front suspension but are rigid at the back and some have front and rear suspension for cushioning jumps and drops, others have neither.
Hybrid bike have flat handlebars instead of drop handlebars. Some models have front suspension to cushion bumps in the road or on the track, and others don’t.
A road bike will generally have a lightweight frame, skinny tyres, drop handlebars (those are handlebars which curve back down underneath themselves) and a high gear ratio.
(Source: Edinburgh Bicycle Cooperative, 2018)
Gears and Brakes
In general bicycles gear shifters are classified into 3 categories. They are: Thumb Shifters, Twist Grip Shifters and Dropbar Integrated Combo Shifters. On every bike in Britain you will control your rear gears with your right hand and your front gears with your left hand.
A bicycle brake reduces the speed of a bicycle or prevents it from moving. The three main types are: rim brakes, disc brakes, and drum brakes.
The best way to use your brakes is to use them both together – your rear brake only will slow you down but will not stop you. If you use your front brake only there is a risk of going over the handle bars.
Types of Handlebars

Image sourced from Fixed Gear Frenzy
Flat handlebars are the standard type of bars for most bikes.
Riser bars are essentially flat bars that rise from the centre clamp area.
Bullhorn handlebars are bike bars that curve up and forward.
Drop bars have a straight middle section similar to a flat bar with each end curving downwards and towards the rider.
Cruiser or Upright handlebars allow the rider to control the bike while sitting completely upright.
Butterfly bars (AKA touring or trekking bars) are designed for a wide variety of hand positions for long rides.
(Source: City Bicycle Co, 2017)
M-Check
The very first thing we want to make sure is that the bike is safe when we go for a ride, so we do an M-Check.
Tyres. Check the tyre pressure by hand making sure they are nice and firm so we avoid punctures. Then check the front wheel, check the tyre, look at the tyre in case there is any debris, thorns, bits of glass.
Next, look at the tyre and check its turning freely. Hold onto the wheel and try to shake it side to side, if it's loose just check that your quick release or whatever way the wheel is attached to the frame is tight enough.
Brakes. Check your front brake with your right hand by pulling the brake, trying to lift the bike off the ground. Then pull the rear brake and if the bike is skidding, that's good. That means the rear brake is working.
Handlebars. Check the handlebar grips and if the handlebar is tight enough by holding the bike’s front wheel in between your feet and try to swing the handlebars it side to side. If it’s not moving – it’s all good.
Pedals. Try to unscrew the pedals by hand, they should be nice and firm. Then, grab the pedal and try to swinging side to side to see if it’s loose.
Saddle. Try to move the saddle – it should be firm and at the correct height for the rider.
Rear wheel. Just as we did with the front wheel - try to shake it side to side, and spin it round make sure it's turning, making sure it's well attached with the quick-release system or whatever system you have on your bike. Some bikes have quick release, some bikes have bolt on wheels and some bikes have something called a Thru Axle

What to wear on a bike ride.
A helmet.
A high-vis vest or something bright and visible.
Shoes that stay on your feet, so no flip-flops - sensible shoes.

How to wear a helmet properly.
Obviously, put it on your head.
The helmet needs to sit squarely on the head, with the front of the helmet low on the brow, protecting the forehead.
Side straps should be fastened securely just below and forward of the ears. There should be no slack in the system when the chin strap is fastened. If a helmet is worn too loosely, it slides back (exposing the forehead) or falls off in a crash.
Tighten the helmet’s adjustable ratchet system. Depending on the brand of helmet this could be at the back, on top or another location.
What to carry with you on the road
Tyre levers - to remove the tyre
A spare inner tube – in case of a puncture
Puncture repair kit - in case of a puncture
A multi tool - to make any adjustments while on the road
A pump
Learning how to cycle (as an adult or as a child)
Step 1 - Remove the pedals from your bike then sit on it with your feet flat on the ground. You might have to adjust the height of the seat to allow you to do this.
Look ahead at where you're going and start by walking with the bike. It’s important to look ahead and not at the front wheel. This a common thing people do when they first start learning to ride and it can make you feel a bit wobbly.
After you feel comfortable with this, put two fingers on the brakes and pull both brakes at the same time. Shoogle from side to side on the bike with the brakes pulled, this will give you confidence that your brakes will provide stability and will keep your bike stationary when you need it to be.
When you’re ready, look ahead, release the brakes and start walking with the bike again.
Step 2 - Once you're familiar with the walking we’re going to do what we call a ‘Kangaroo Step’. This is when you start sliding forward on the bike then lift your 2 feet at the same time before placing them on the ground again.
Speed is your friend here as it helps you balance. So try to get speed with a kick to propel yourself forward then lift your feet up, putting them back on the ground once the bike has moved forward approximately 1 metre. Repeat this a few times. Once you’re comfortable with balancing on the bike using the Kangaroo Step technique, it’s time to put the pedals back on.
Step 3 - Starting and Stopping correctly. When you get onto your bicycle, first stand over the frame in front of the saddle. Pull your brakes so the bike won’t roll. A steady bike lets you get into position to mount.
Now, using either foot, gently turn the crank backwards until the pedal is at 2 o’clock position – forward and high.
Once your foot is on the pedal in the 2 o’clock position, you’re ready to get moving. Look ahead, let go of the brake levers and push down on the pedal. The first pedal stroke starts the bicycle moving and lifts you up to the saddle. When the opposite pedal comes up to top position, put your foot on it for the second pedal stroke.
When you’re coming to a stop, stand on one pedal, and slide forward off the saddle. Lean the bicycle a little to the side and place your free foot on the ground. When stopped, raise the other foot and its pedal into the 2 o’clock starting position, the same way as when you got onto the bicycle.
Keep only one foot on the ground when you stop. The other foot waits on its pedal in the 2 o’clock position, ready for a quick start.
(Source: Allen, 2001)
Step 4 - The ‘Look’ Game. Once you're confident cycling, you can test your balancing skills with the ‘Look’ Game – all you need is you, your bike and a partner.
As you ride, your partner will say “look” and hold up a random number of fingers. Every time they say “look” you should turn your head around and shout out how many fingers they are holding up. Try looking over your right and then left shoulders, this is a skill which is important when we come to learning manoeuvres on the road.
A note on gears

Gears on a bike can seem really complicated. In a car you've probably only got six to think about or, you might drive an automatic, in which case you don't need to worry at all. But on a bike, you might have 18, 20, 22, maybe even 33 gears. So what are you supposed to do with them all?
Well the good news is, firstly, that you can forget about the number of gears that you have. It's not actually important. What is crucial, though, is the range of gears that you've got and being able to swap from your easiest gear, right through to your hardest gear.
Your left hand controls big jumps the gears by moving the chain from the little cog to the big cog at the front, which are also called your chain rings. Whereas your right hand moves the chain across the smaller cogs at the back and that makes finer adjustments.
You'll probably find that when you're riding fast that you'll be in your big chain ring at the front and when you're riding on the flat, and climbing, you'll be in your little chain rings. You'll probably find that your left hand generally doesn't do all that much, but your right hand will be much busier. Usually you can control the gears on your bike by using 2 fingers, your index finger and thumb.
How do you know, then, when you're in the right gear? Well, it is actually very straightforward. You'll be putting in the effort that you want to put in. So not going to hard in order to keep your pedals turning but then not pedalling really fast and not going anywhere either.

It's also important to use the gears when you come to a stop. If you're cycling on a flat surface and you come to a junction or traffic lights, you should make sure you're in a gear which is easy for you to start back up again.
For example, if you’re cycling in a hard gear and are approaching traffic lights you’ll use your left hand to change the big chain ring to the smaller one by pulling the shifter at your index finger. Then you can come to a stop using your brakes. By doing so, when you start cycling again, it should feel a lot easier. You can change back into a harder gear when you’re going at the speed you want to be traveling in by using the shifter at your thumb.
Another example is when you approach a hill. As you hit the incline, change into an easier gear using your right hand. You want to make sure that if possible you change the gear before you really need to. So, in advance of perhaps a hill that's coming up. Because if you do leave it a bit late, gears don't generally like changing under pressure. So, if you have to change from your big chain ring to your little chain ring when you're on a climb, you may find it's actually quite hard to do. When you go downhill, you’ll want to change into a harder gear so that you’re not spinning your feet in the pedals too fast.
The best way to improve your gear skills is just to practice, start by getting familiar with the back gears at your right hand, play about with them and notice the difference they make when you cycle. Once you feel confident with your right hand, do the same and practice with the gears at your left hand.
And that's really all there is to it!
So get on your bike and get practicing! Look out for our next post where we’ll go into more detail to really perfect those cycle skills, coming soon.
References
Allen, J. S. (2001). Bicycling Street Smarts. Cambridge, USA: Rubel BikeMaps. Retrieved from Bike Exprt.
City Bicycle Co. (2017, May 09). The Ultimate Guide to Bike Handlebars. Retrieved from City Bicycle Co: https://www.citybicycleco.com/blogs/city-bicycle-co-garage-resources/45179589-the-ultimate-guide-to-bike-handlebars
Edinburgh Bicycle Cooperative. (2018, April 24). Types of Bikes: The Ultimate Bike Buying Guide. Retrieved from Edinburgh Bicycle Cooperative: https://www.edinburghbicycle.com/info/types-of-bikes-buying-guide/#mountain-bikes